|
Dimensioning Shapes |
  
|
|
Dimensioning Shapes |
|
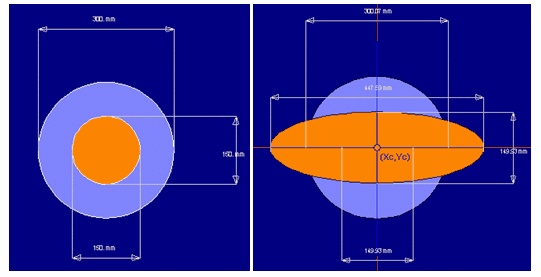
To view dimensions, from the Dimensions tab of the main toolbox, click the View Dimensions icon or from the View menu click the Dimensions option.![]()
To dimension shapes, from the Dimensions tab of the main toolbox, click one of the three dimension type icons: Horizontal, Vertical and Oblique. ShapeDesigner™ switches to Dimension Definition Mode. Move the pointer over the first vertex point to dimension. When the point is selectable, a small green circle appears around the point. Click on the left mouse button to select the point. Repeat the previous steps for the second vertex point. When the second vertex is selected, the dimension is displayed and it follows thepointer. Position the dimension with the pointer and click the left mouse button to lock it in place.

When you are done dimensioning, click the right mouse button (or double click the left one) to exit Dimension Definition Mode.
When dealing with shapes with horizontal and vertical lines, selecting the correct dimension orientation type (horizontal, vertical and oblique) can be confusing at first. Generally, you should use the “oblique” type by default. Oblique dimensions are preserved when a shape is rotated. Horizontal and vertical dimensions adjust and change under such transformations.
It is important to set dimensions when dealing with composite sections to view the transformed dimensions when viewing the transformed composite section.