|
Start ShapeDesigner™ |
  
|
|
Start ShapeDesigner™ |
|
1. Start ShapeDesigner™
Start ShapeDesigner™ with the Start | Programs | MechaTools | ShapeDesigner SaaS menu and authenticate using your username and password.
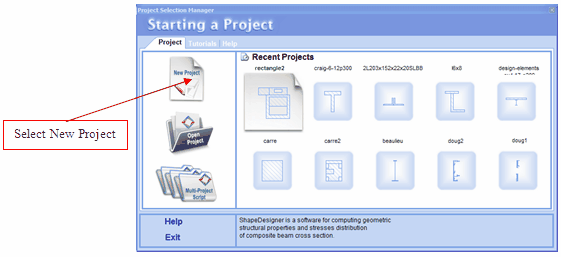
2. Create a New Project
Select the New Project icon in the Starting a Project dialog.
The Input Filename for New Project dialog is automatically displayed. Enter the name of you new section project and click Save.
3. Set the Project Units
Click Cancel on the Change Units dialog.

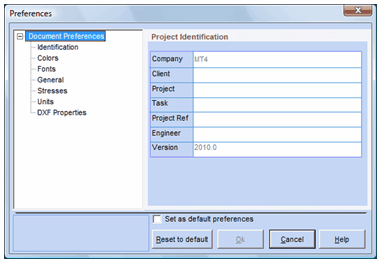
4. Set the Project Preference
Click Cancel on the Preferences dialog.
5. Import a DXF File
5.1. Select the DXF Module tab.
5.2. From the DXF File Manager, select the ShapeDesigner example folder (c:\Program Files\MechaTools\ShapeDesigner SaaS\Examples).
5.3. Select the DXF file from the file list (goodridge.dxf).
5.4. Press the Accept button. The DXF File Manager tab will close and the DXF Editor tab will be displayed.
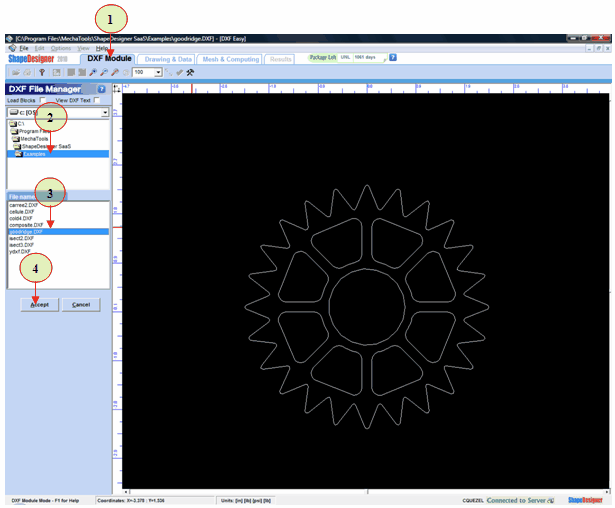
5.5. Press the Button to import the section
.![]()
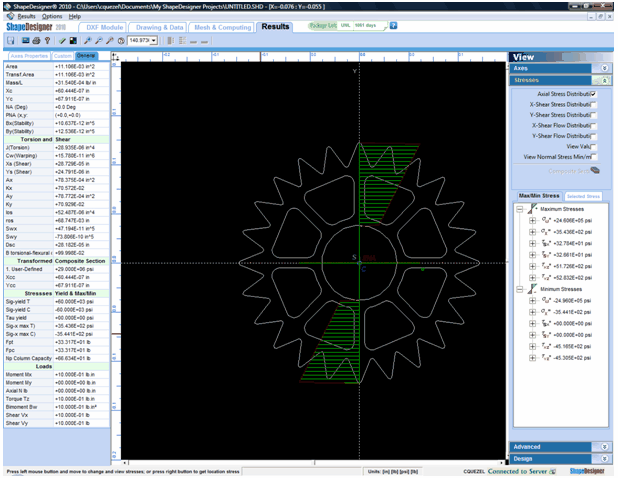
6. Compute Properties
Click on the Mesh & Computing tab
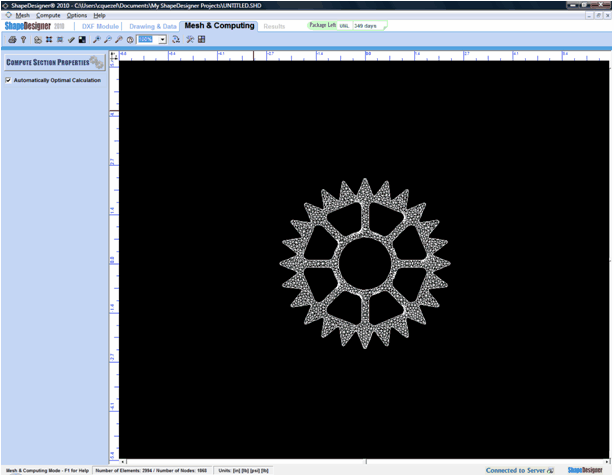
7. Click on the Compute Section Properties button. Wait for the results to be displayed.
View the various results.