|
Creating Holes or Cut-outs |
  
|
|
Creating Holes or Cut-outs |
|
Holes or Cut-outs
A hole is created in a shape. For its lifetime, a hole remains associated to the shape in which it was created. To create a hole, select the shape in which you want it created. Then, define the hole the exact same way as a shape except that, instead of selecting the Add Shape button from the Cross Section Input tab of the toolbox, select the Add Hole button. It is possible to manipulate a drawing such that one or more holes are partially or completely outside the shape in which they were defined. This situation must be fixed before computations may begin.

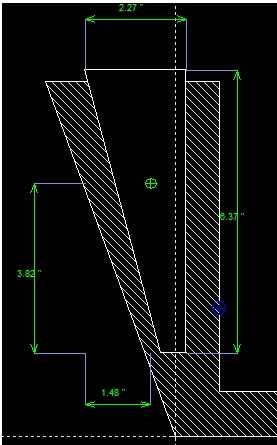
Acceptable section (hole inside the shape) Not acceptable section (see error message
bellow if the error is not fixed)

Holes may also be created using Copy and Paste commands and Generate commands.
Creating Holes
There are various ways of creating holes:
| 1) | Using the Add Hole button of the Cross Section Input tab of the Main Toolbox or using the equivalent Add Hole menu item of the Shape menu. |
| 2) | By dragging a shape onto another shape. See the “Creating Shapes Within Shapes” section. |
| 3) | By copying a shape or hole and pasting it as a hole. See the “Copying Shapes and Holes” section. |
| 4) | By using the Generate Shapes dialog (See the “Generate Shapes” section) |
To create a hole, select the shape in which you want to create it. Then, define the hole the exact same way as a shape (See the “Creating Shapes” section) except that, instead of selecting the Add Shape button from the Cross Section Input tab of the toolbox, select the Add Hole button.